
Tips for Photographing Your Halloween Magic
Halloween is a magical time for kids.
When I was little, I planned my costume for weeks ahead of time. We carved a pumpkin all together. The face design was a collaboration of everyone’s ideas. Once carved, my dad would display our carved pumpkin on the roof of our house to greet all approaching visitors. It was inevitably knocked down by neighborhood teenagers by the next morning.
We put on our homemade costumes (because Spirit Halloween was not yet a thing) and my mom painted our faces. It was then my dad made some family videos and my mom took a few photos. (Yup. This need to document these fleeting moments was modeled to me as a kid!)
We’d then join up with other groups of kids, led by the dads, and go trick-or-treating.
My parents documented those nights for my sister and me, and I’m still grateful. Your kids’ Halloween is happening this month too, so here are my tips for capturing it without turning it into a full-on photo shoot.
Here are a few of my tips for photographing your Halloween magic:
Before you start.
Halloween is a list of preparations, not just the night itself. There’s finding a costume and maybe makeup or masks, decorating your home, pumpkin carving…it is an endless list.
As you photograph, there are a few super basic tips to remember:
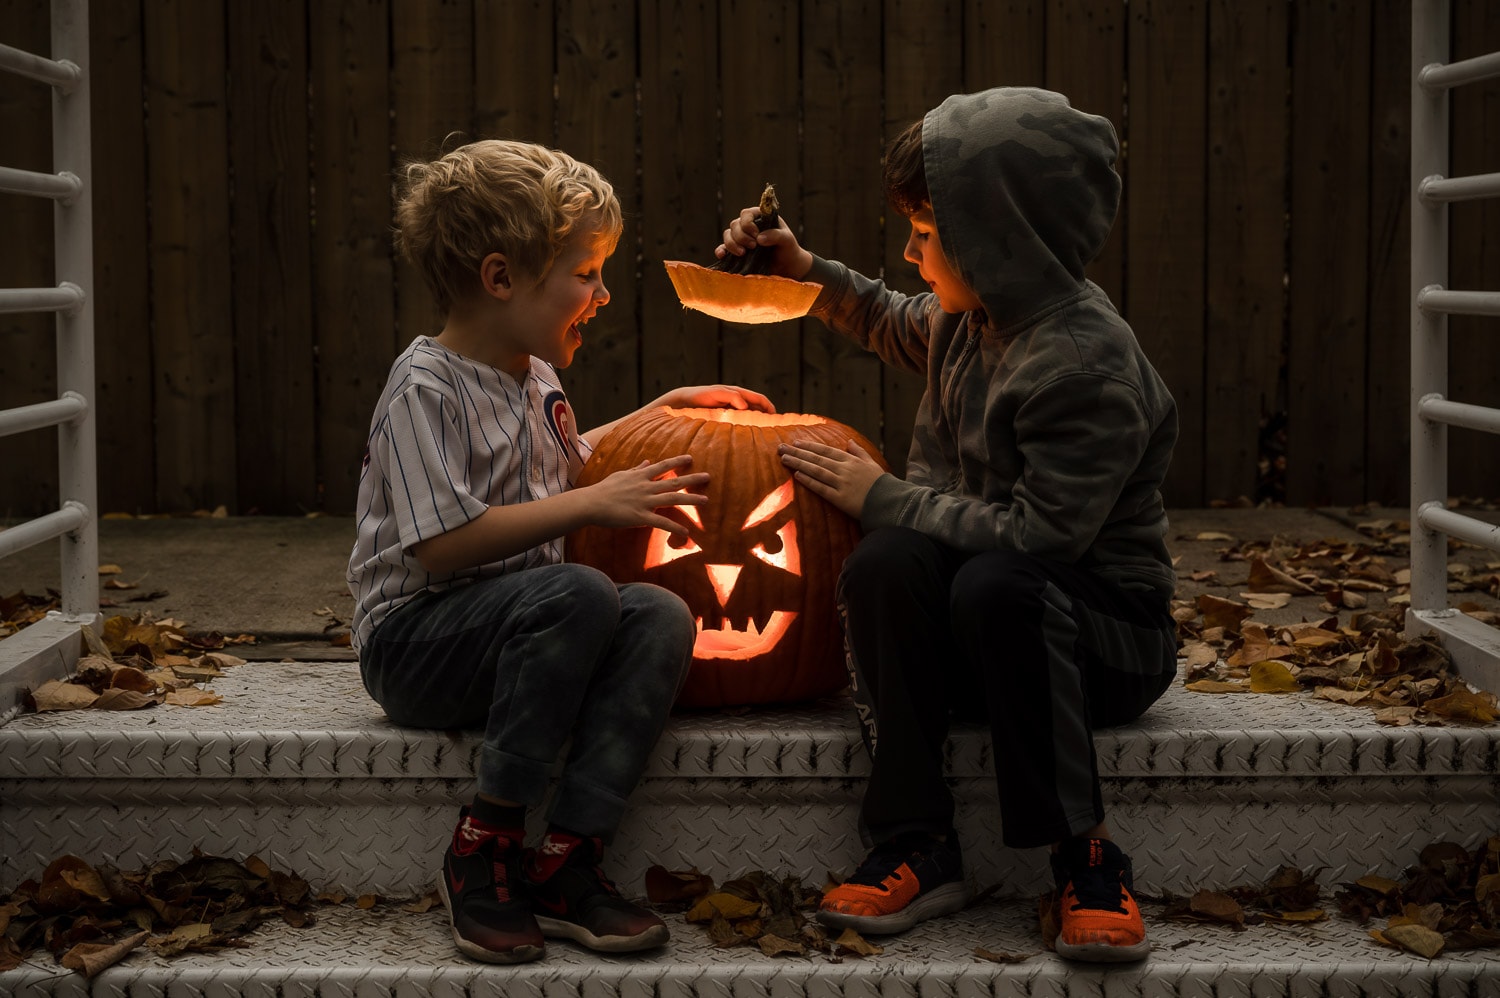
When it comes time to photograph your carved pumpkin, the candles won’t be bright enough.
Put your brightest flashlight into a white shopping bag (the Thank You bags from take out are the best) and place that into your pumpkin. The light will bounce around the pumpkin making it glow brighter for the photo.
If you’re taking the photo on your phone, tap the pumpkin’s face to darken the rest of your background and balance the light better. I had my kids lift the pumpkin lid so the light would fall on their faces too!
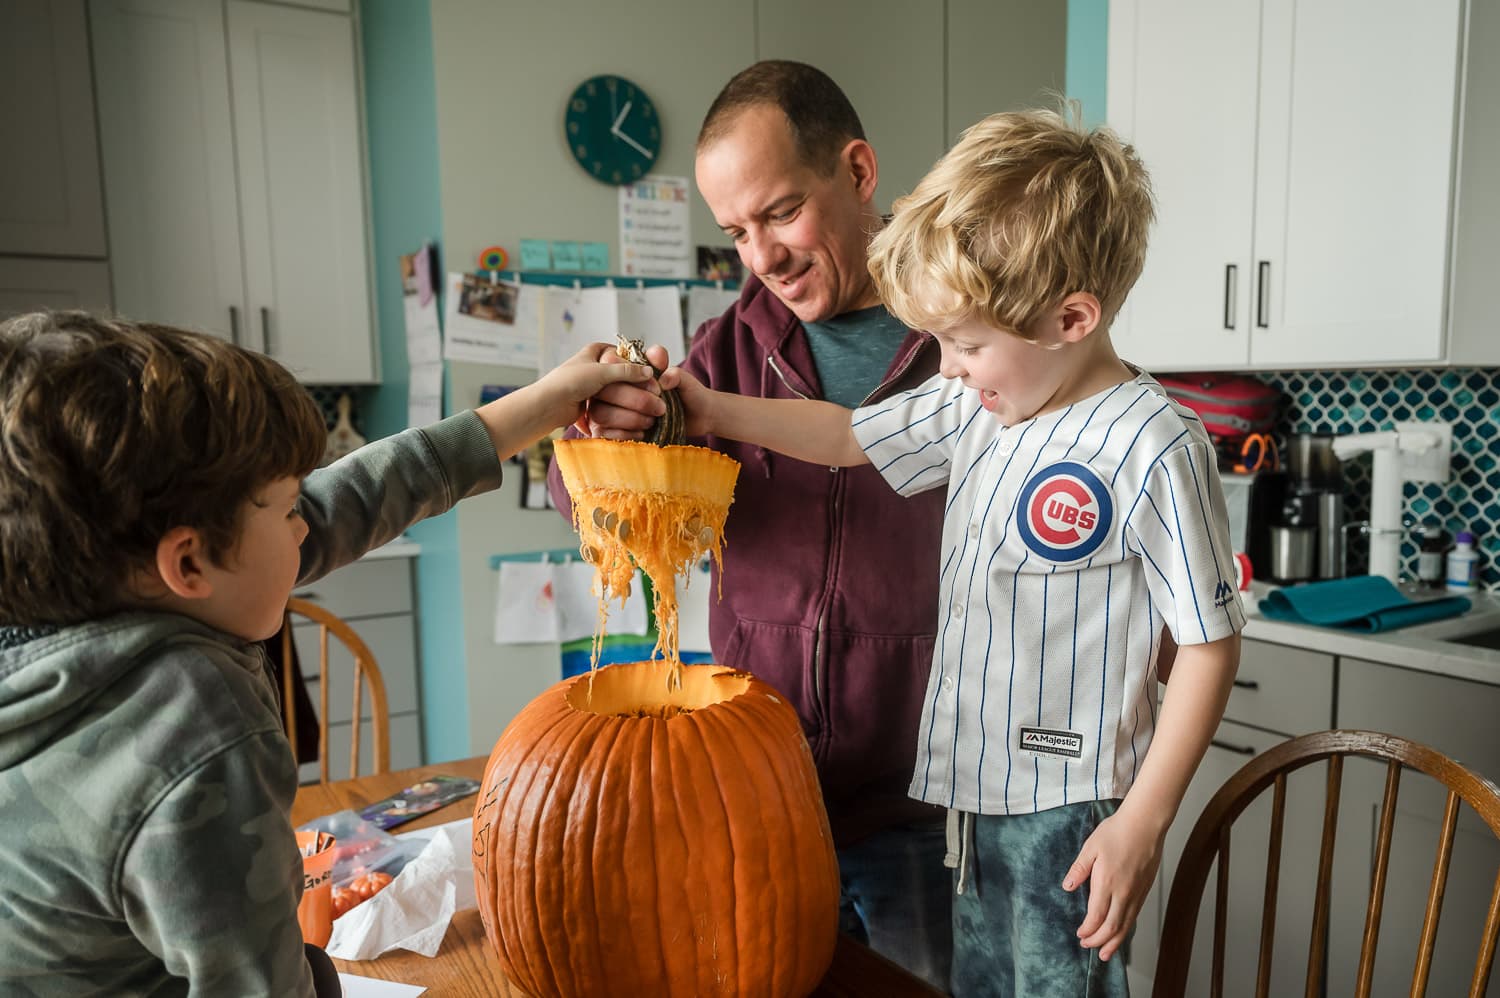
Do a trial run special outing a few days before Halloween, particularly with very little kids.
This allows for time to photograph your kids in good light when they aren’t anticipating running out the door to go trick-or-treating. They’ll be a lot more patient and excited to participate. As a bonus, you can find a location that connects with their costume! (Or juxtapose a location by being the complete opposite place you’d find the character is dressing up as.)
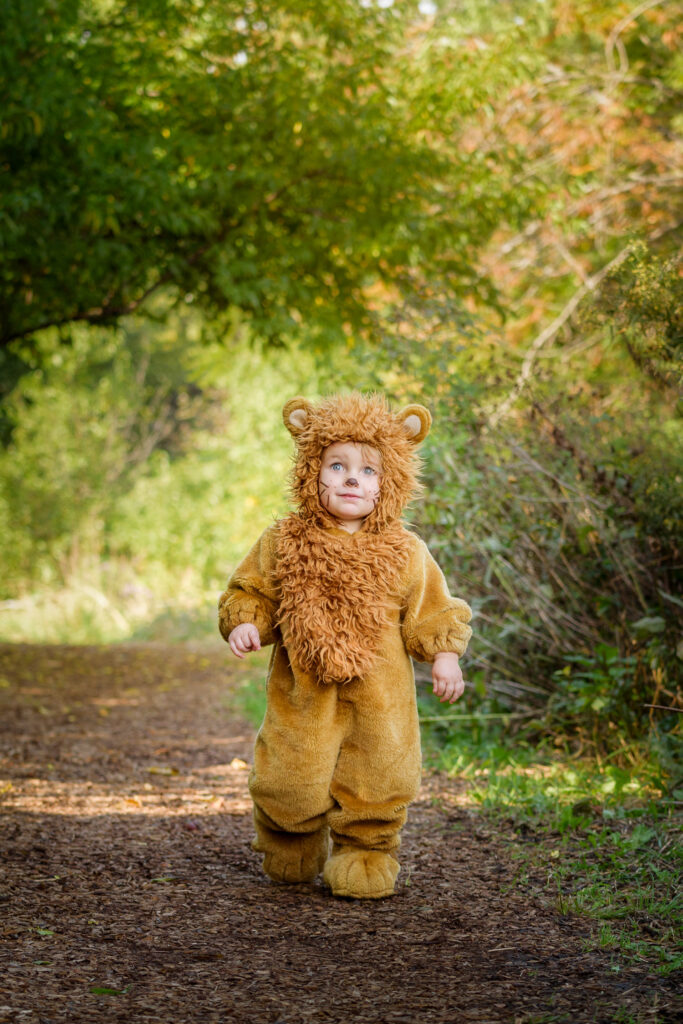
This is still one of my favorite photos. I took my then 2-year-old lion to take photos in the “jungle.”
It made for a much less stressful Halloween. I already had photos of him dressed up. The rest was just icing on the cake without any pressure.
Vary your perspective
Step back and get the entire scene. Go in close to capture the details. Hold your camera up high. And squat down to your child’s eye level. Your photos will be much more interesting than if they are all shot from your regular perspective.
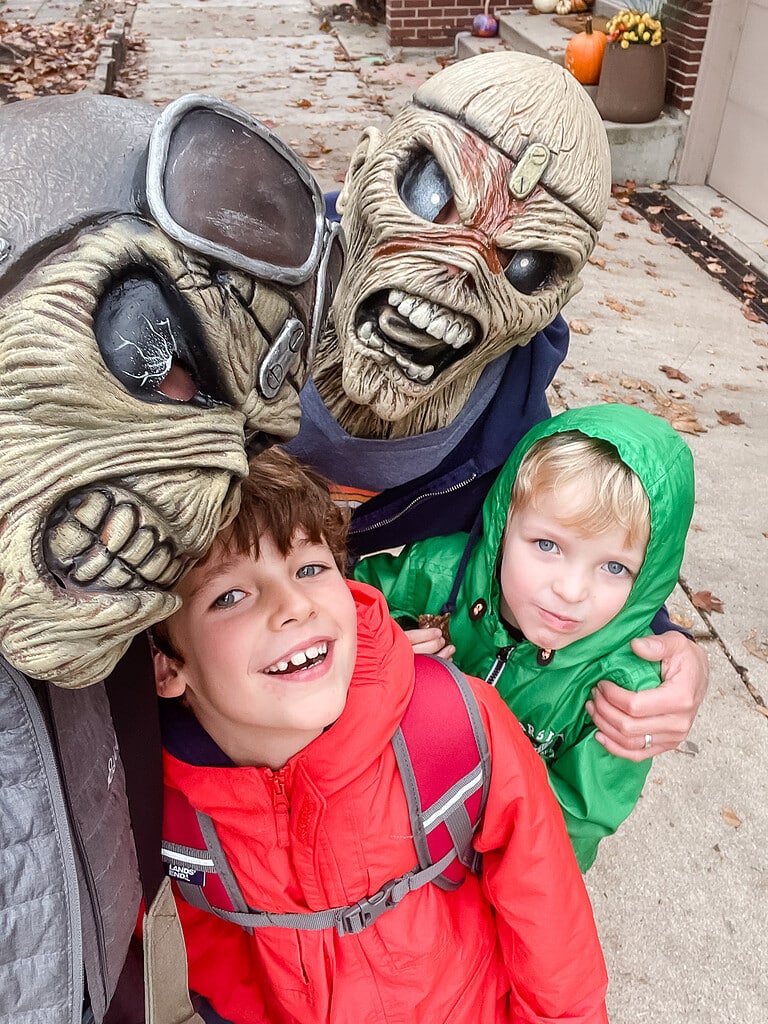
Don’t forget to take a selfie!
The photographer also should be part of the story. And don’t worry about what you look like! Selfies are supposed to be a little silly. (This is what my husband and I showed up wearing to pick up our tiny Iron Maiden fans from school on Halloween.)
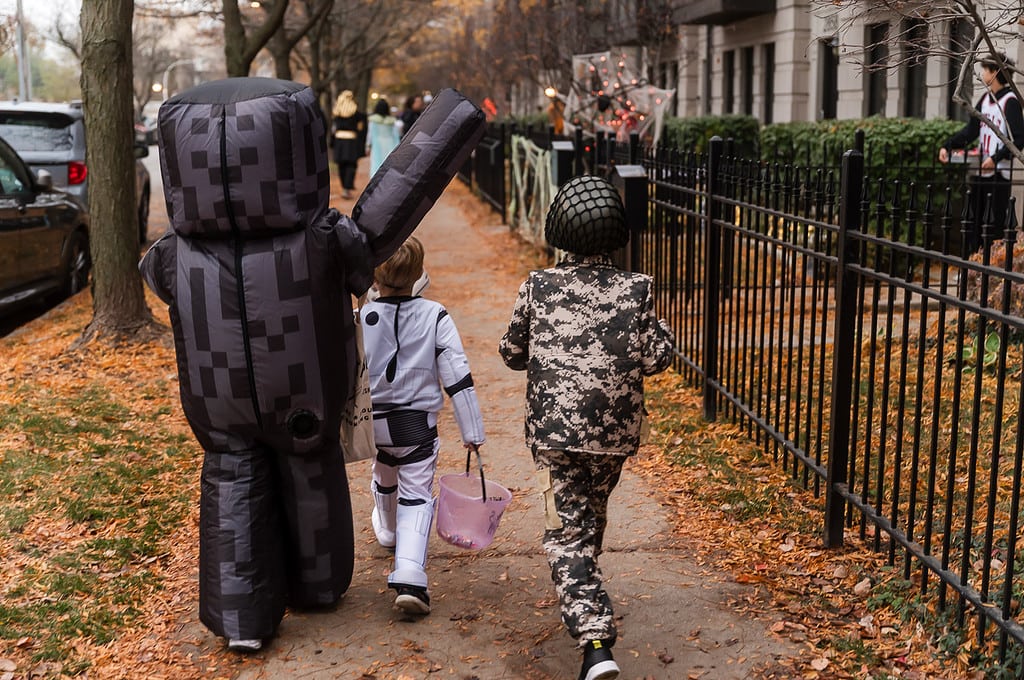
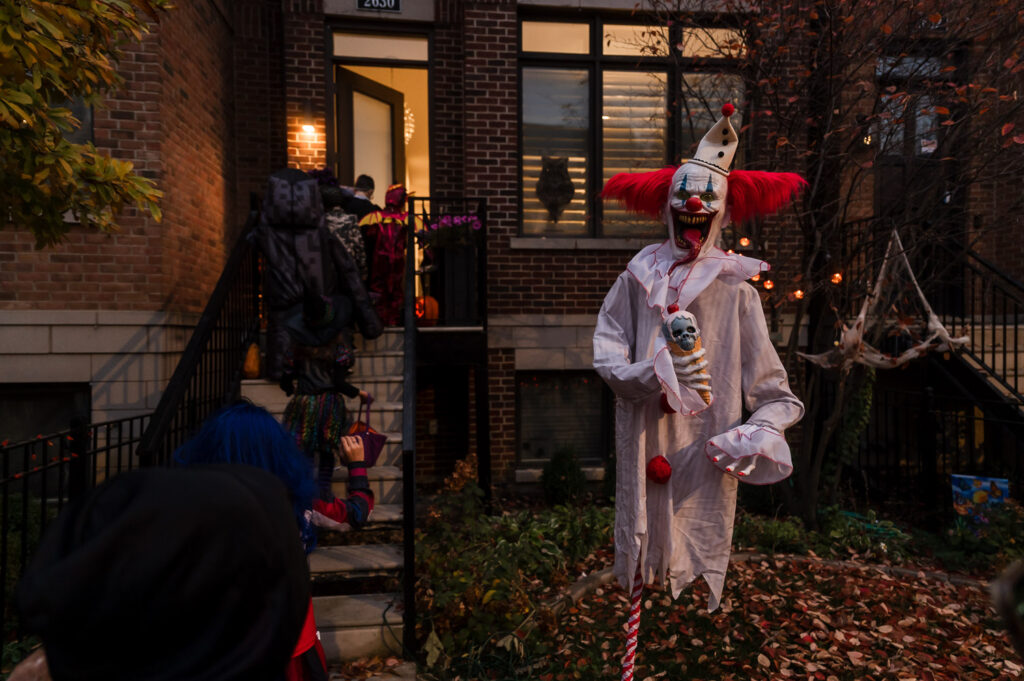
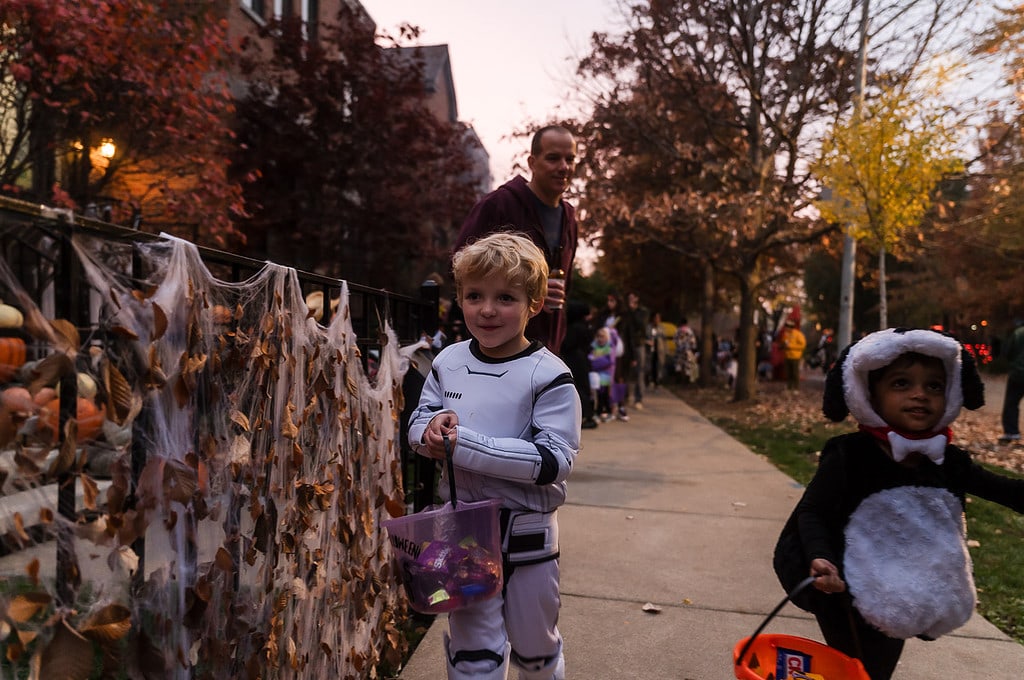
Watch for the elements of a story
Take photos of the who, the what, the where, and the when. These all become fantastic elements to include into your printed yearbook. (Because I certainly hope that you’re printing photos of the most photographed generation and not just letting them fade into cyberspace. ❤️)
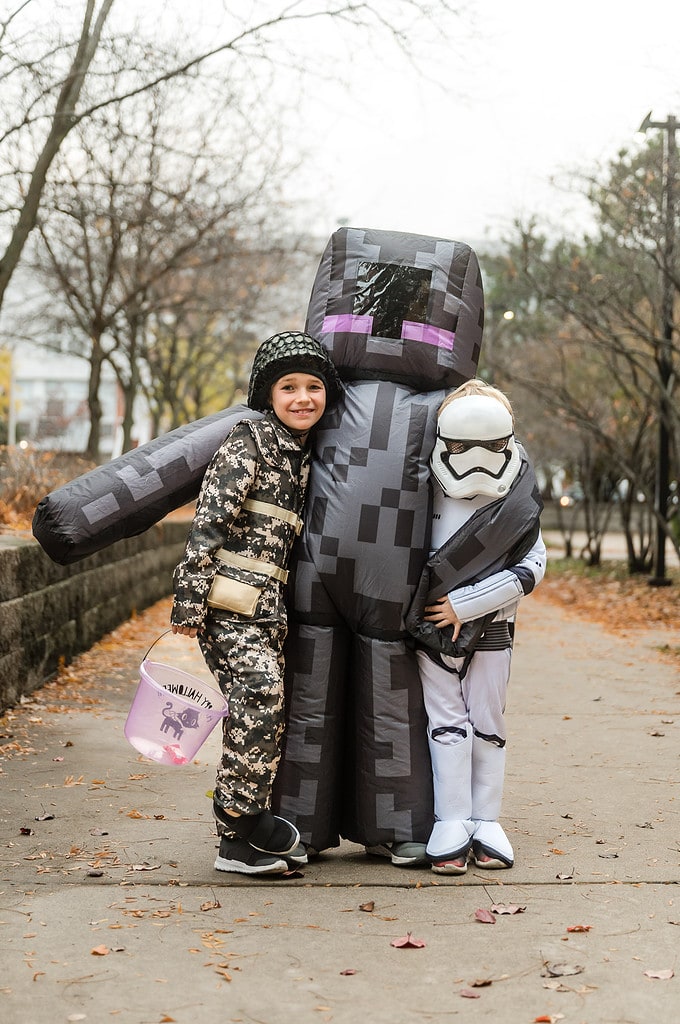
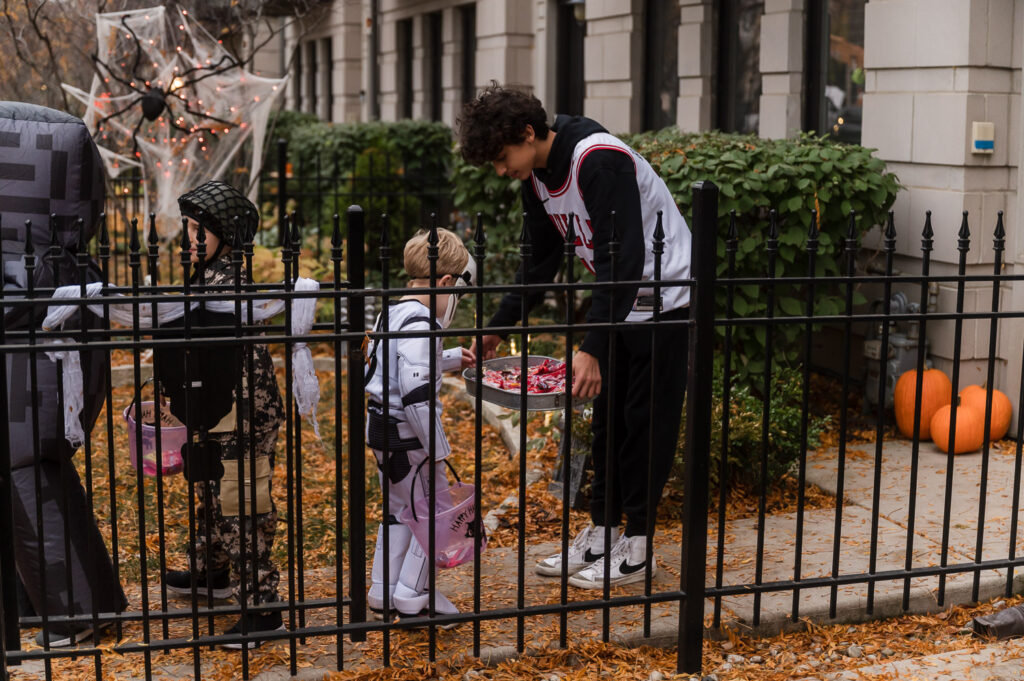
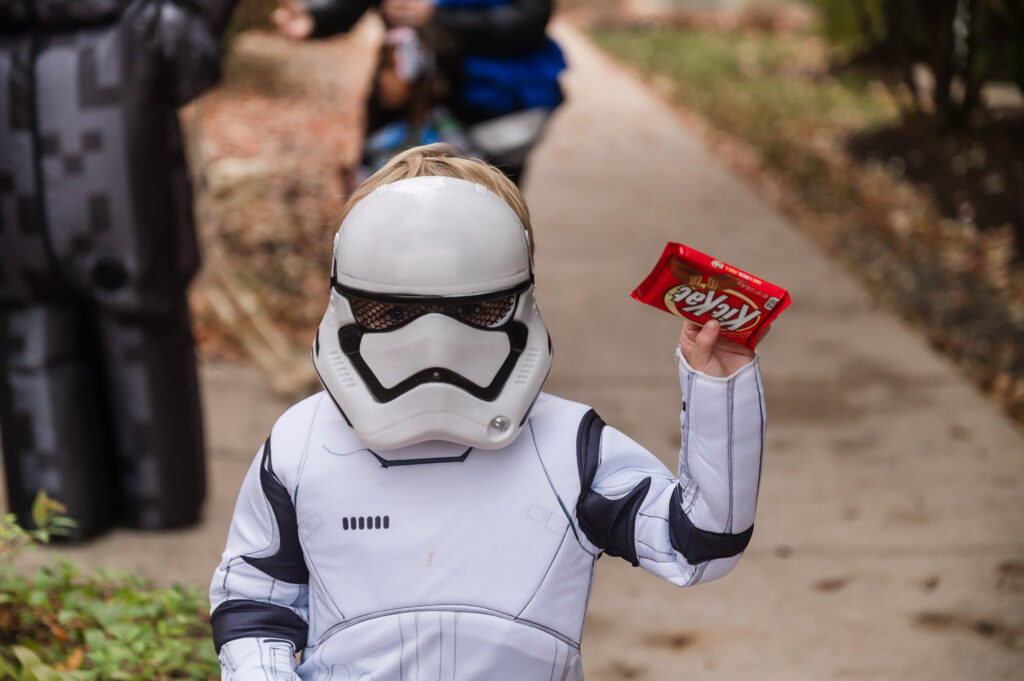
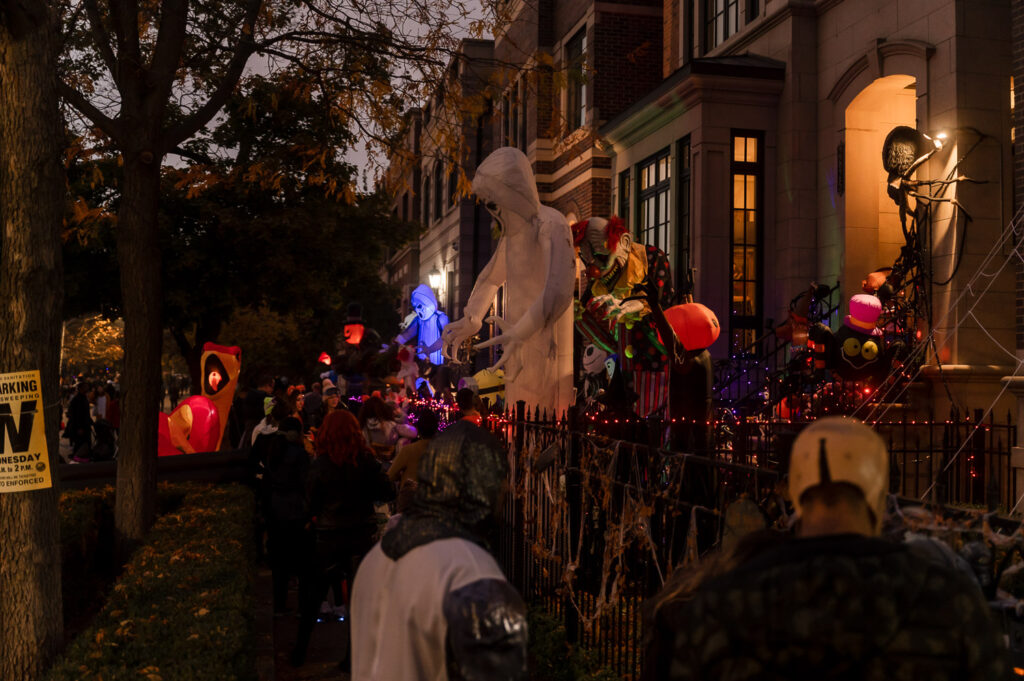
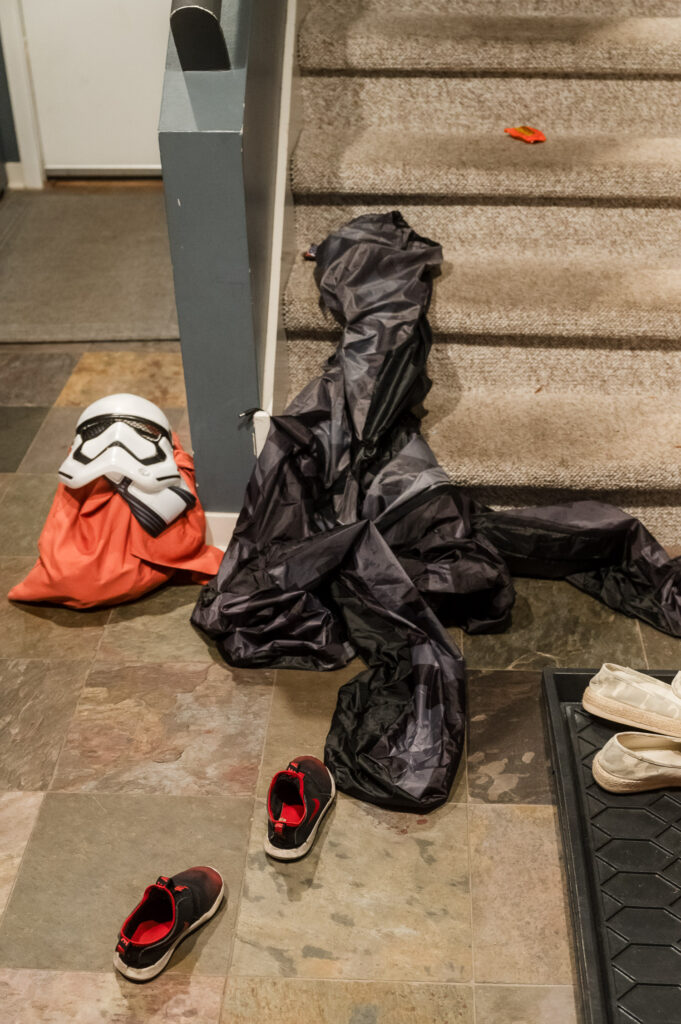
Don’t forget the ending!
What does the Halloween aftermath look like? How much candy did they walk away with? What did the entryway look like when they came home and cast off their costumes? Was it a late night with friends, and did they fall asleep on the couch? These are the parts that will bring a little laugh for you down the road.
I photograph just a few families each year to tell their stories.